In modern networking, every device that connects to the internet requires an IP address {internet protocol}. This address works like a “house number” on the internet, ensuring data finds its way to the right destination. Assigning IP addresses manually can tiresome and unreasonable for a few reasons of-course, error-prone, confusion especially in networks with multiple devices, like your home network.
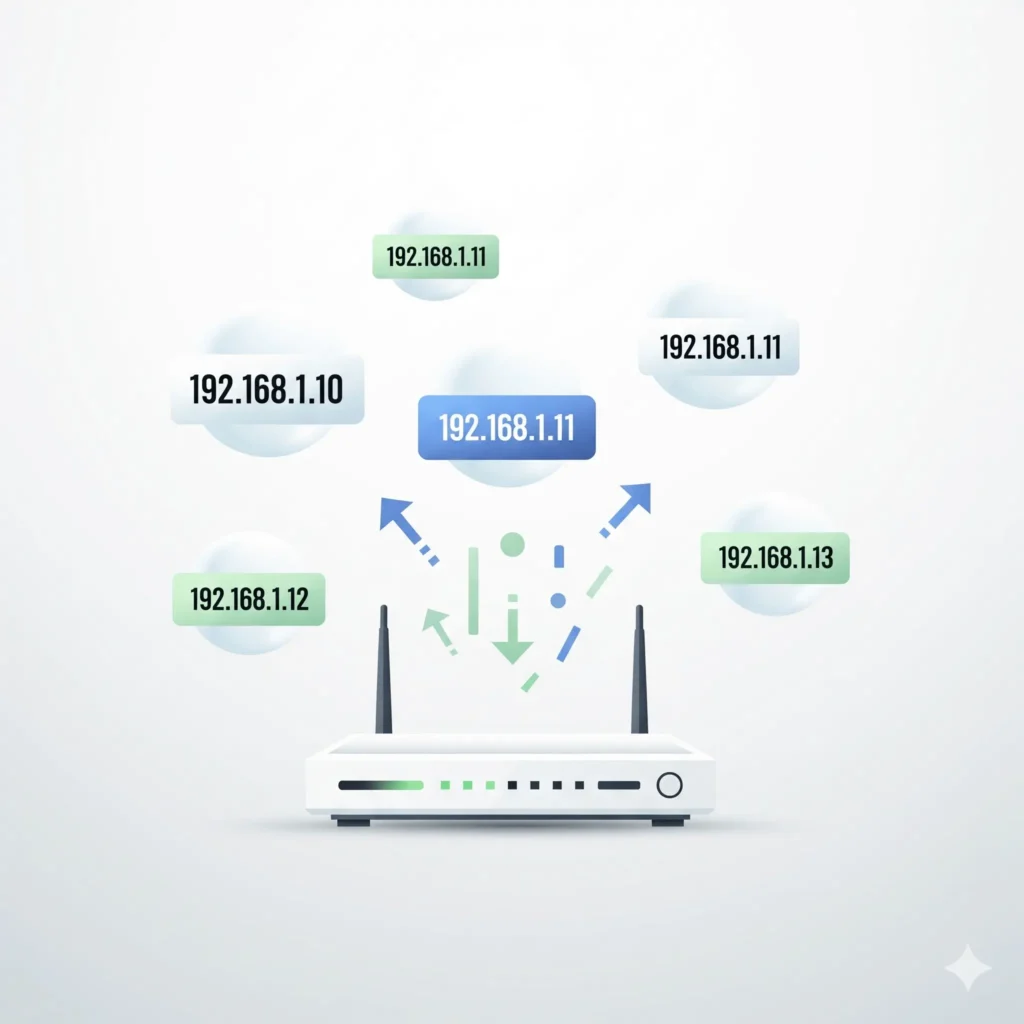
This is where the DHCP (Dynamic Host Configuration Protocol) Server comes in. Think of DHCP as an automatic address assignment system: instead of you manually giving each device an IP, the DHCP server assigns one automatically to every devices on the network by leasing an ip from an ip pool for a certain period of time.
ALSO READ: TCP/IP vs OSI Model Explained: A Beginner’s Guide to Networking Layers
In this blog, we will go step by step to set up a DHCP server on a MikroTik hAP lite RB941, one of the most popular beginner level mikrotik routers in networking.
Table of Contents
Understanding the Basics Before Configuration
Before diving into the setup, let’s review some key concepts:
IP Address Range (Pool): The list of IPs your DHCP server can assign. For example, 192.168.88.10 to 192.168.88.100.
Subnet Mask: Defines the network size. For example, 255.255.255.0 means 254 usable IPs.
Gateway: The “exit door” from your network (usually your router’s IP, e.g., 192.168.88.1).
DNS Server: Helps translate website names (like google.com) into IP addresses.
Preparing Your MikroTik hAP lite RB941
Connect your PC to the Ethernet port of the hAP lite.
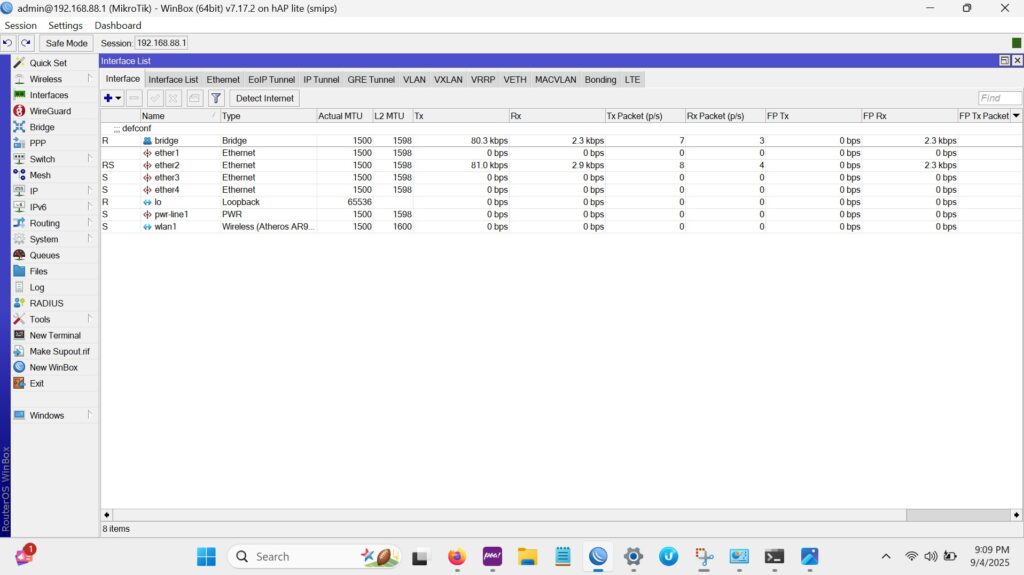
Open Winbox or use the WebFig interface (default IP: 192.168.88.1).
The first step in configuring a DHCP server on MikroTik is to define the range of IP addresses that can be automatically assigned to devices. This range is known as the IP pool, and it ensures that each connected device receives a unique address without conflicts on the network. By creating a pool, you set the boundaries for what addresses your DHCP server can hand out, leaving the gateway address (for example, 192.168.88.1 reserved for the router.
To create this pool, navigate to IP → Pool → Add New in your MikroTik interface. Give the pool a descriptive name, such as dhcp pool, and then specify the range of addresses you want to use for instance, 192.168.88.10- 192.168.88.100. Once saved, this pool becomes the foundation for your DHCP setup, and any device connecting to your network will automatically be assigned an IP from this defined range as shown below.

Setting Up the DHCP Server
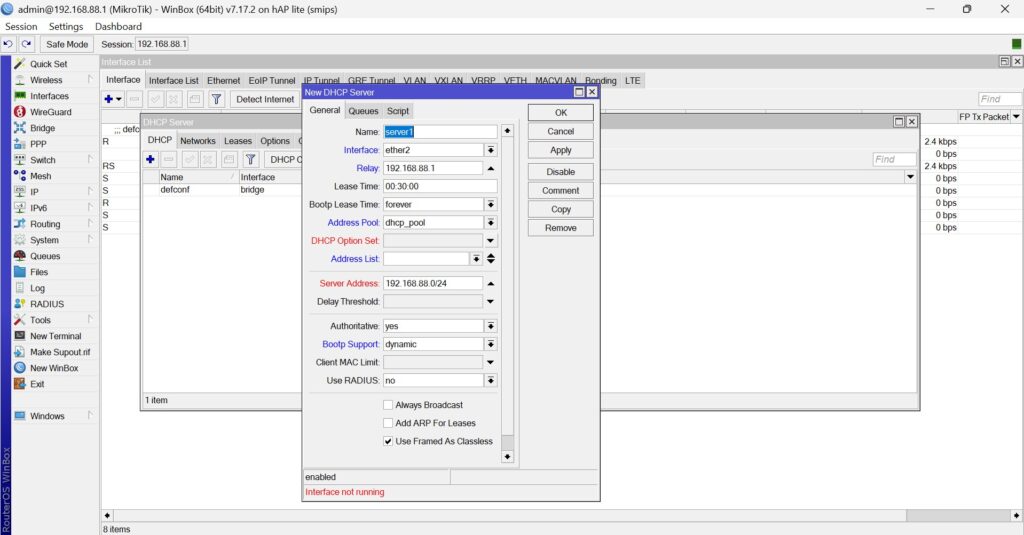
With the IP pool in place as shown above, the next step is to actually set up the DHCP service on your MikroTik router. This is done using the DHCP Setup wizard, which simplifies the process into a few guided steps. To begin, navigate to IP → DHCP Server → DHCP Setup and select the interface where you want the DHCP service to run—commonly bridge local if you are using the default configuration. This ensures that all devices connected to your bridge interface can automatically receive an IP address.
It is clear to note that when either ether1, 2, or wan port, only the devices connected to that port could automatically receive an ip address per-defined in the ip pool.
Once the wizard launches, it will prompt you for several key details. You’ll first confirm the DHCP Address Space, such as 192.168.88.0/24. Then, specify the Gateway for the DHCP Network (usually the router’s IP) and choose the Address Pool you created earlier (dhcp_pool). Next, set your DNS Servers, such as Google’s public DNS (8.8.8.8, 8.8.4.4), and finally, decide the Lease Time—the duration each IP is valid before renewal (the default is 10m, though you can extend this for more stable devices). Once completed, your MikroTik router is officially acting as a DHCP server.
Testing the DHCP Server
Now that the DHCP server is configured, the final step is to confirm it’s actually handing out IP addresses. You can do this by connecting a device to your router and checking the IP it receives.
On Windows:
Connect your laptop to the router (via LAN cable or Wi-Fi).
Open Command Prompt and type:
ipconfig
Look under your active adapter (e.g., “Ethernet” or “Wi-Fi”). If the IPv4 address is within your DHCP pool (e.g.,192.168.88.10–192.168.88.100), the DHCP server is working
On Android/iPhone:
Connect to your router’s Wi-Fi.
Go to Wi-Fi Settings → Advanced (Android) or Wi-Fi → Info (iPhone).
Look at the IP address. If it falls within the pool you set (192.168.88.10–192.168.88.100), then the DHCP server is assigning addresses correctly.
Conclusion
A DHCP server is one of the core building blocks of any network. Without it, IP management would be chaotic and time-consuming. Luckily, with MikroTik hAP lite RB941, setting up a DHCP server is straightforward and beginner-friendly.
You now know how to:
Understand DHCP basics
Create an IP pool
Configure DHCP server on MikroTik
Test and troubleshoot your setup
Compare DHCP on MikroTik vs. Windows/Linux
As you continue experimenting, try advanced features like static leases or multiple DHCP pools for guests and internal networks. The more you practice, the better you’ll understand how DHCP shapes reliable and scalable networks.